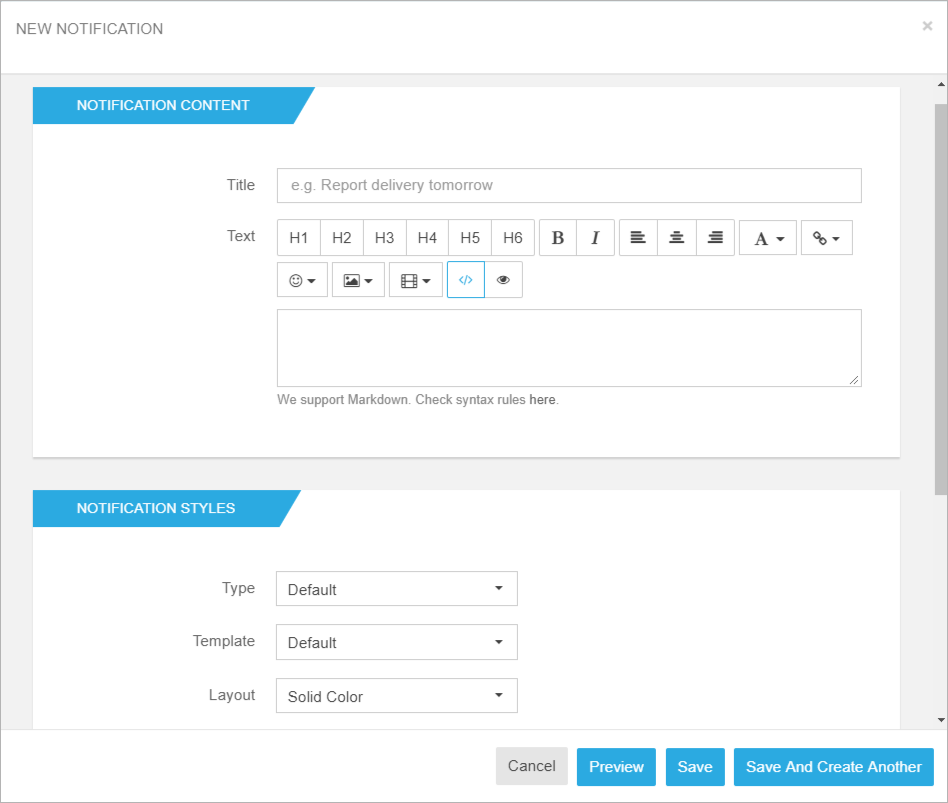
Create a new alert
- Open the site where you have the Alerts web part installed;
- Click Bindtuning, and then Edit Web parts to edit the web part;
-
On the web part sidebar bar, click the ➕ button;
-
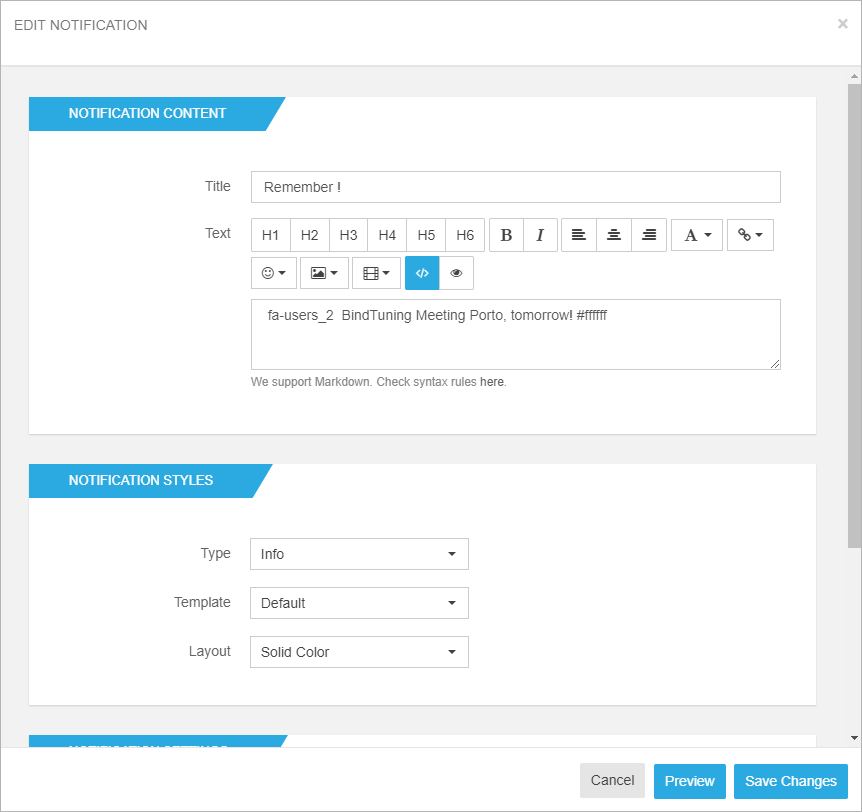
Fill out the form that pops up. You can check out what you need to do in each setting in the Alerts Settings Glossary section of this User Guide;
-
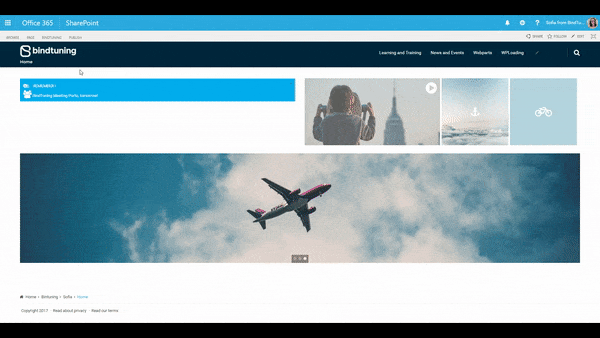
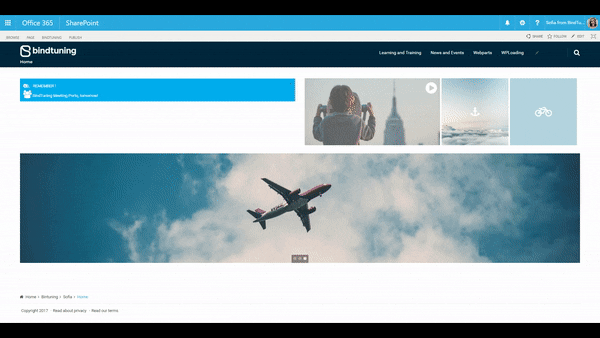
After setting everything up, click on the Preview button if you want to see how everything looks on the page, or click on Save or Save and create another.
Clicking **“Save and create another”** will keep the form open, so you can add more alerts to your page without closing the form.
Edit an alert
- Open the site where you have the Alerts web part installed;
-
Click Bindtuning, and then Edit Web parts to edit the web part;
-
On the web part sidebar click the Manage Alerts icon.
- The list of alerts will appear. Click the pencil icon to edit an alert;
-
Change the settings as necessary to re-configure the alert.
-
Done editing? Click on the Preview button if you want to see how everything looks on the page or on Save Changes.
Delete an alert
- Open the site where you have the Alerts web part installed;
-
Click Bindtuning, and then Edit Web parts to edit the web part;
-
On the web part sidebar click the Manage Alerts icon.
- The list of alerts will appear. Click the trash can icon to delete the alert that you want to remove;
- A message will appear requesting your confirmation. Click Ok and the web part will refresh and the alert will be removed.